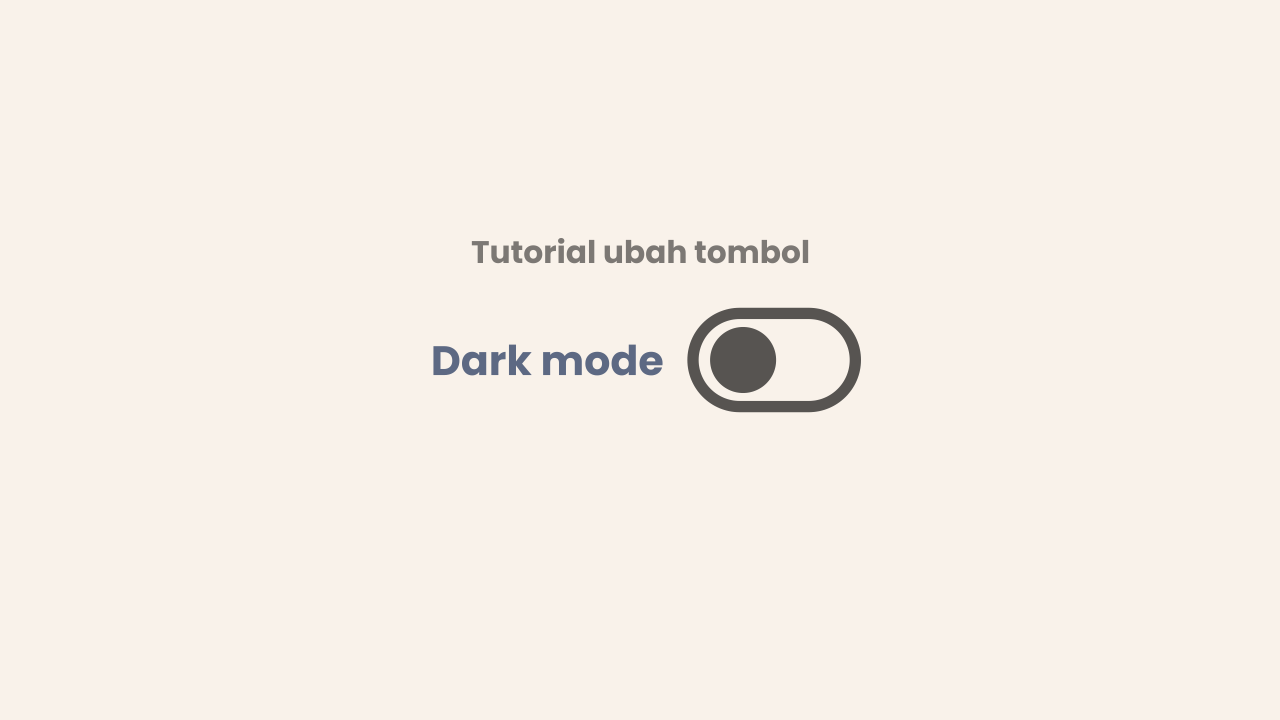
Hướng dẫn thay đổi cách hiển thị của nút chuyển chế độ tối
 |
| Source: jagodesain.com |
Trong hướng dẫn này, chúng tôi sẽ thay đổi một chút giao diện của nút chuyển chế độ tối để làm cho nó trông hài hòa hơn với các biểu tượng trong mẫu này. Phần hướng dẫn này là không bắt buộc, bạn có thể áp dụng hoặc không tùy theo ý muốn của mình.
Tất cả những gì bạn cần làm là thay đổi một chút mã CSS trong mẫu, rất dễ dàng nếu bạn làm theo hướng dẫn này theo thứ tự. Đầu tiên, hãy tìm bộ sưu tập mã CSS bên dưới:
.header .navicon .dark-switch i{position:relative;margin-left:8px;width:30px;height:10px;border-radius:8px;background-color:rgba(0,0,0,.15)}

.header .navicon .dark-switch i:before{content:'';display:block;position:absolute;top:-4px;left:0;width:18px;height:18px;border-radius:50%;background-color:$(link.bg.colors);-webkit-transition:all .2s ease;transition:all .2s ease}
Thay thế tất cả mã ở trên bằng CSS bên dưới:
.header .navicon .dark-switch i{display:flex;align-items:center;position:relative;margin-left:8px;width:28px;height:18px;border-radius:10px;border:1.5px solid #48525c;background-color:transparent}

.header .navicon .dark-switch i:before{content:'';display:block;position:relative;left:1.5px;width:12px;height:12px;border-radius:50%;background-color:#48525c;-webkit-transition:all .2s ease;transition:all .2s ease}

.dark-mode .navicon .dark-switch i{border-color:#989b9f}

.dark-mode .navicon .dark-switch i:before{left:11px;background-color:#989b9f}
Xem trước
Để biết ví dụ về ứng dụng của nó, bạn có thể xem trong bài đăng này
Điều gì sẽ xảy ra nếu tôi muốn thay thế nút chuyển đổi bằng một biểu tượng?
Có thể nhiều người nghĩ như vậy, nhất là khi bỏ nút điều hướng di động, phần hiển thị tiêu đề trông hơi lạ. Sẽ tốt hơn nhiều nếu nút chuyển đổi biểu tượng tìm kiếm trong tiêu đề
Nếu vậy thì trong mã đầu tiên ở trên, hãy thêm một số mã CSS bên dưới:
Kode CSS awal

.header .navicon .dark-switch i{position:relative;margin-left:8px;width:30px;height:10px;border-radius:8px;background-color:rgba(0,0,0,.15)}

.header .navicon .dark-switch i:before{content:'';display:block;position:absolute;top:-4px;left:0;width:18px;height:18px;border-radius:50%;background-color:$(link.bg.colors);-webkit-transition:all .2s ease;transition:all .2s ease}

Tambahkan beberapa baris kode sehingga jadi seperti ini:

.header .navicon .dark-switch i{position:relative;margin-left:8px;width:30px;height:10px;border-radius:8px;background-color:rgba(0,0,0,.15)}

.header .navicon .dark-switch i:before{content:'';display:block;position:absolute;top:-4px;left:0;width:18px;height:18px;border-radius:50%;background-color:$(link.bg.colors);-webkit-transition:all .2s ease;transition:all .2s ease}

.header .navicon .dark-link .svg-2, .dark-mode .navicon .dark-link .svg-1{display:none}

.dark-mode .navicon .dark-link .svg-2{display:block}

.dark-mode .navicon .dark-link svg.line{fill:none;stroke:$(sec.night.colors)}
Sau đó, hãy tìm thẻ HTML bên dưới và thay đổi nó theo ví dụ
<span class='dark-switch' onclick='darkMode()'><i class='check'/></span>

Ganti semua kode diatas dengan kode dibawah ini:

<div class='dark-link' onclick='darkMode()'>

  <svg class='>line svg-1' viewBox='0 0 24 24' xmlns='http://www.w3.org/2000/svg'><path d='M21 12.79A9 9 0 1 1 11.21 3 7 7 0 0 0 21 12.79z'/></svg>

  <svg class='line svg-2' viewBox='0 0 24 24' xmlns='http://www.w3.org/2000/svg'><circle cx='12' cy='12' r='5'/><line x1='12' x2='12' y1='1' y2='3'/><line x1='12' x2='12' y1='21' y2='23'/><line x1='4.22' x2='5.64' y1='4.22' y2='5.64'/><line x1='18.36' x2='19.78' y1='18.36' y2='19.78'/><line x1='1' x2='3' y1='12' y2='12'/><line x1='21' x2='23' y1='12' y2='12'/><line x1='4.22' x2='5.64' y1='19.78' y2='18.36'/><line x1='18.36' x2='19.78' y1='5.64' y2='4.22'/></svg>

</div>
Lưu mẫu của bạn và xem sự khác biệt. Có thể có ích đấy
Đăng nhận xét